How to Host WordPress Blog with OpenShift for Free


Have you ever tried Openshift to host your WordPress blog? It is free and reliable. If you haven’t heard about it, you come to the right place. I will explain it in brief and guide you through.
What is OpenShift
According to their website, OpenShift is “Red Hat’s Platform-as-aService (PaaS) that allow developers to quickly develop, host, and scale applications in a cloud environment.”
What Are the Web Applications?
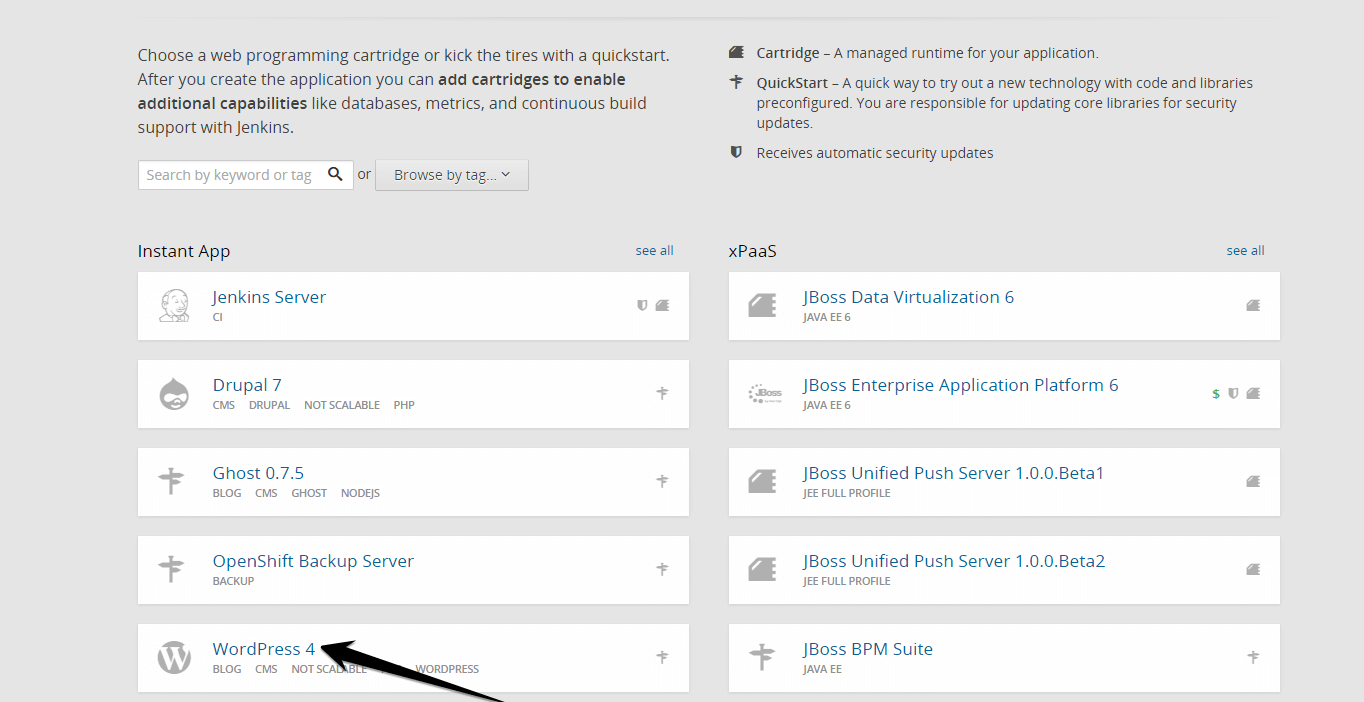
The web applications include Instant App such as Jenkins Server, Drupal, Ghost, and WordPress; while xPaaS include JBoss Data Virtualization 6, JBoss Enterprise Application Platform, JBoss BPM Suite, JBoss BRMS and other applications such as PHP, Java, Python, Ruby, and so on.
It is free
OpenShift offers free plans that include free 3 small gears which mean you can host up to 3 applications on your free plan. The downside is that they don’t offer support from Red Hat but the community only. If you are familiar working with command lines and similar applications before, it will be much easier for you. However, if you are a newbie, then the following instructions will guide you.
Here is a step by step on how to use Openshift to host your blog or website.
Steps to get started.
- Go to https://www.openshift.com/ to sign up for a new account. Once you sign up with your new account, log in to access the applications.
- In your account, you will see the homepage like this
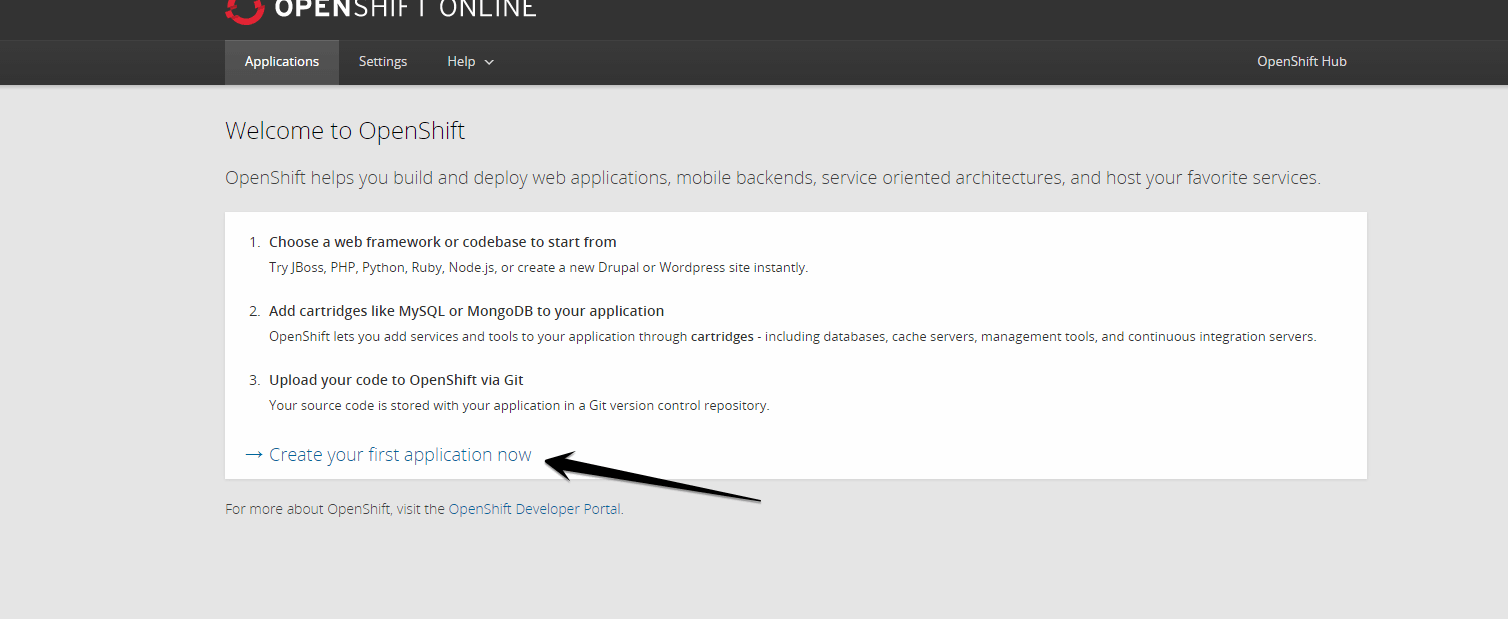
- Click “Create your first application now”
- Click “WordPress”
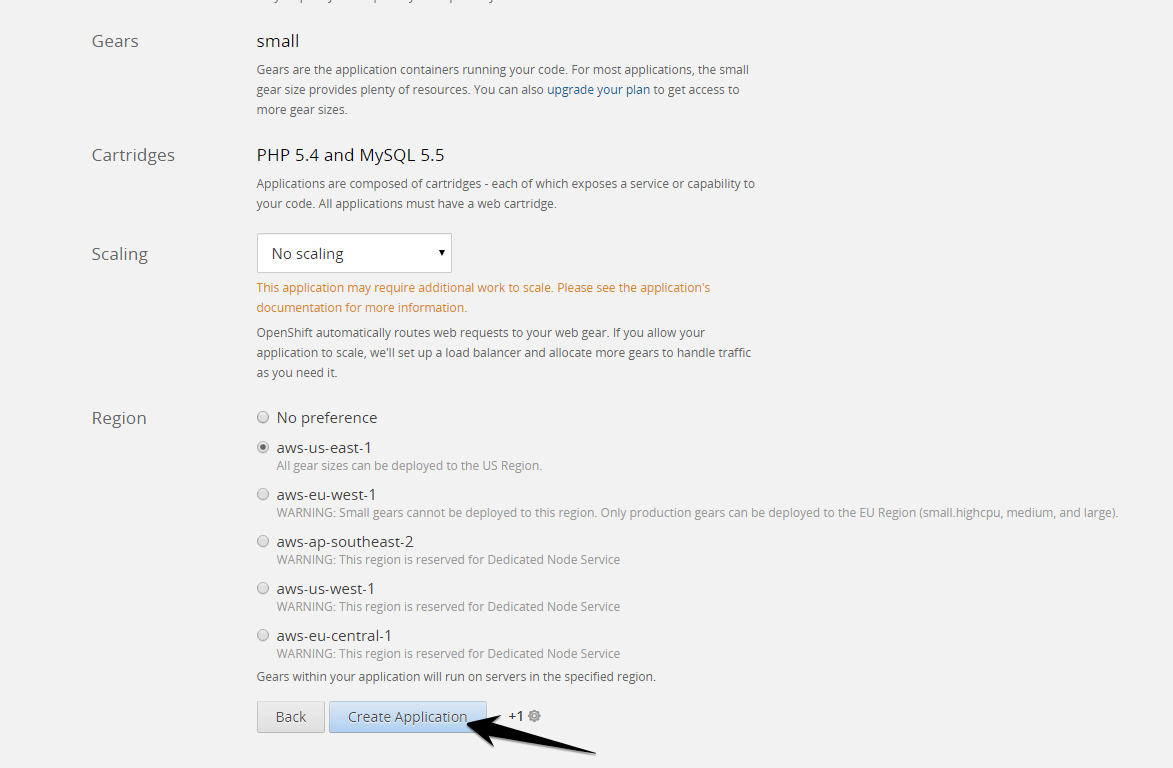
- Give a name for your namespace and application
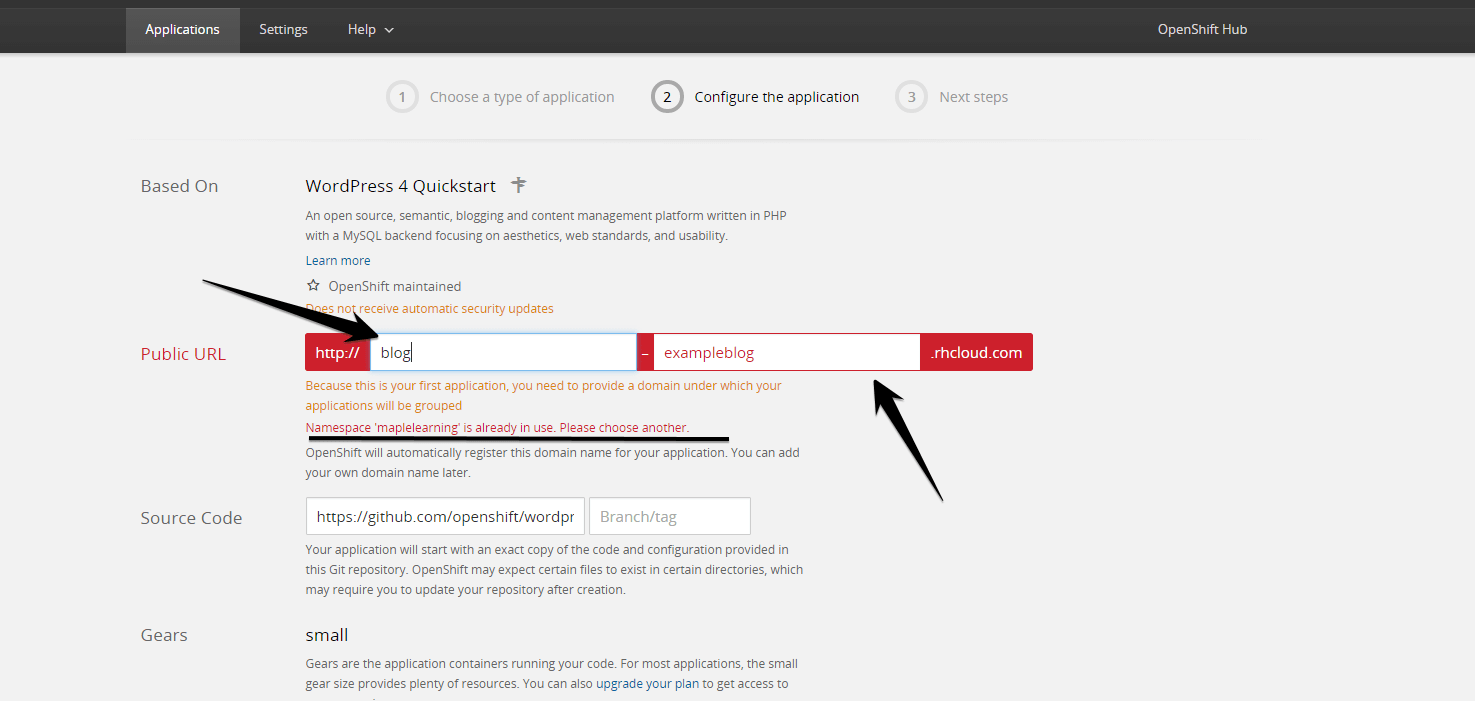
For a example:
Namespace: exampleblog Application name: blog
If you choose namespace that is already used by other users, OpenShift will reject your namespace. Choose another name for your namespace. Once you are done, click “Create Application”
- Wait for 10-20 minutes for the process to be completed.
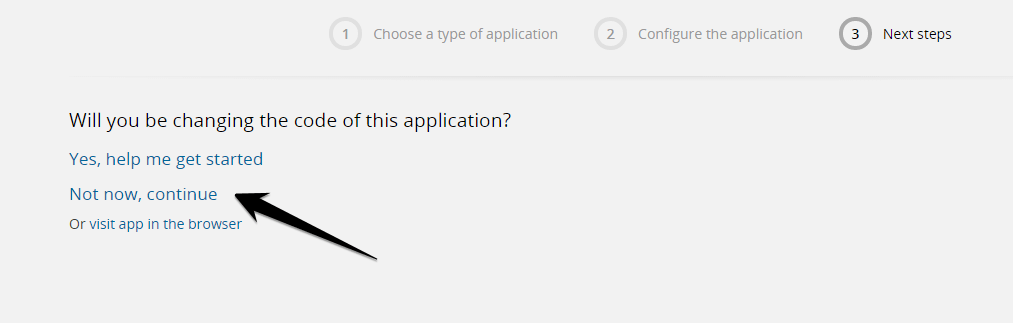
- Once the process is done, click “Not now, continue”
- The next step will bring you to MySQL database information. If you need to change the domain name to your custom domain name, click “change”
- Make sure your CNAME of your domain name point to OpenShift.
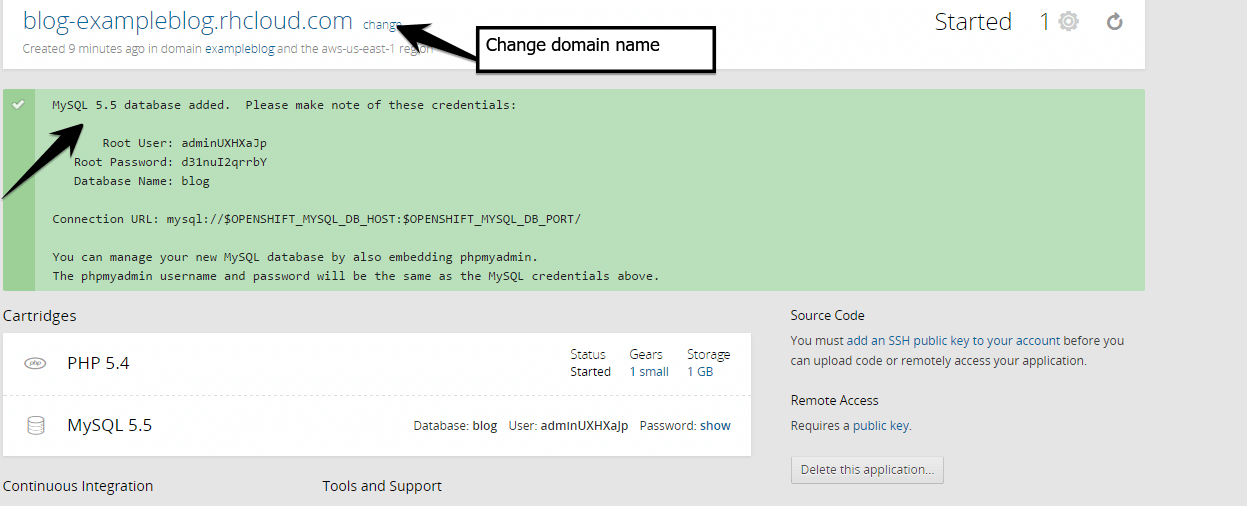
- Upgrade to Bronze to get the advantage of custom SSL certificate, choose larger gears and disable application idling. You need to add your credit card information to qualify. Your credit card will not be charged unless you use more resources than they provide in the free tier.
Set Up the CNAME Record with Your DNS Provider
IF you are using Namecheap for your domain register, follow the guides below:
- In advance DNS, click add a new record and choose “CNAME record”
- Fill “Host” in with “www” or the name of the subdomain that you want to use, fill “value” in with Openshift application address e.g “blog-exampleblog.rhcloud.com”
- Choose 5 minutes for the “TTL”.
- Finish your WordPress installation.
- Now you just have a WordPress blog.
Tip
To prevent your application idling, you need to have some web traffics every day. You can consider using Uptime Robot which will monitor your website or blog every 5 minutes which will disable Idling. You can also choose bronze plan to remove idling.
Now you can use Wordpress to host your resume, portfolio or blog. Enjoy!
Subscribe to iBlogger
Get the latest posts delivered right to your inbox